CABINET and BACKBOX REPAINTING
Contact Paper Method ( Using a Silhouette Vinyl Cutter)
Bally BULLFIGHT
All paint was applied by a paint roller and acrylic paints used.
Preparation
Scanning The Original Art
First step is to scan sections (A4 size) of the artwork - I used a flatbed scanner with the lid removed.

Images are scanned through Photoshop and files saved as psd files and then edited in photoshop ready for exporting to the vinyl cutter.


Vinyl Cutting (Silhouette Vinyl Cutter)
Files are converted to JPG file format and stencils are cut by the vinyl cutter. Material used for the stencil was PVC contact film.


Paint Preparation
Next task was to remove the paint using a paint stripper.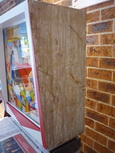

After paint removed, sand back and fill all dents and dings with a filler (I prefer to use Topcoat Gyprock filler - dries quickly, relatively hard and easy to sand).
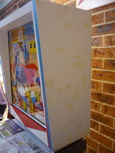

Apply 2 coats of primer / sealer undercoat ( I use Taubmans 3 in 1 ) with a paint roller then lightly sand. Next apply the white - 2 coats with paint roller ( I use Aqua Enamel - Dulux Antique White USA ).
Paint Information can be found here.
Applying The Stencils
Using the stencils, draw the artwork outline onto the cabinet and backbox using a lead pencil.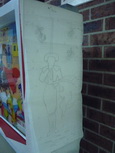
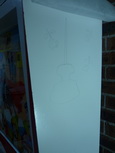
Now position and apply the stencils. First colour - Blue
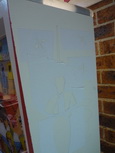

Apply sealer/undercoat to the edges of the stencil - This will reduce the chance of any paint bleed.
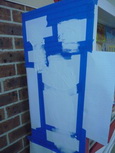


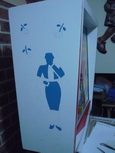

Light Blue applied by the paint roller. Leave for 48 hrs to completely dry.
Paintwork Completed
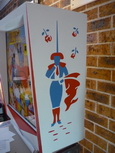


PAINT WAS APPLIED BY A ROLLER

